
Views: 222 Author: Otechkabel Publish Time: 2026-05-21 Origin: Site


As an engineer working with USB, RS232, HDMI and other interface cables for global OEM brands, I've tested thousands of USB to RS232 cables in real industrial environments—from CNC controllers to POS terminals and PLCs. This guide combines that on‑the‑line experience with best practices, so you can reliably test your USB to RS232 cable before it becomes the weak link in your system. [developers.google]
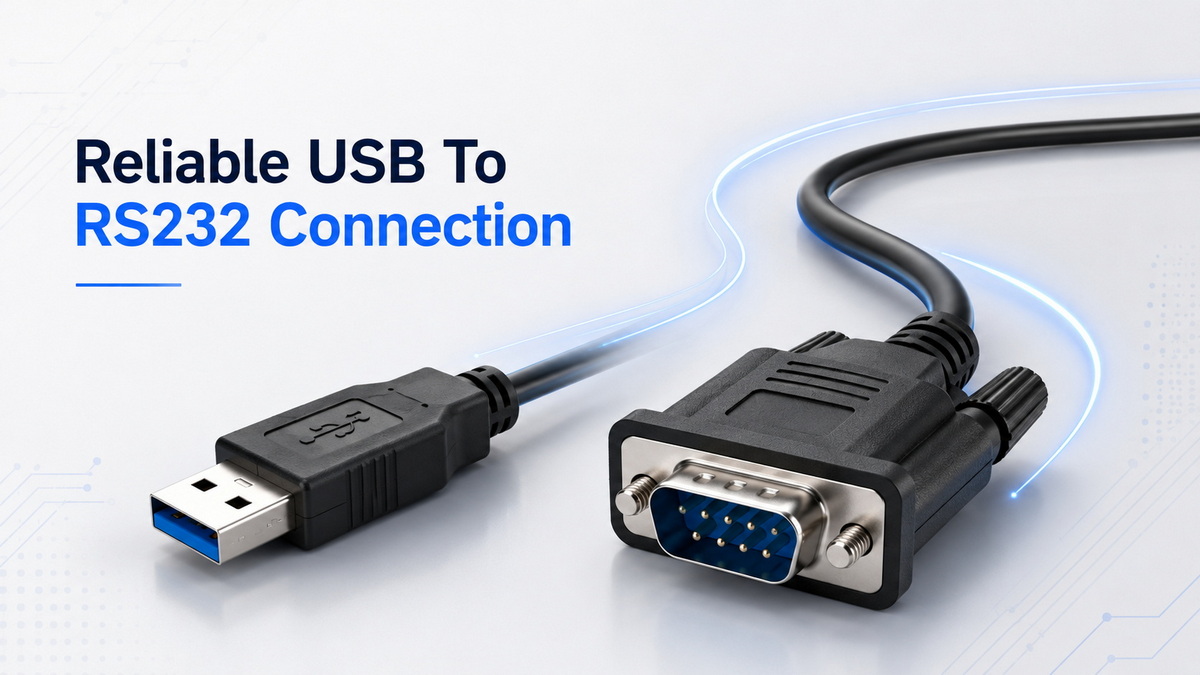
By the end of this article, you will be able to:
- Understand why and what you should test in a USB to RS232 cable.
- Perform a step‑by‑step test, from visual inspection to long‑term stability.
- Avoid common mistakes that cause "random" communication failures in the field.
- Decide when a cable is safe to deploy and when it should be rejected or returned.
A USB to RS232 cable converts USB signals from a PC or laptop into RS232 serial signals used by legacy and industrial devices. Typical applications include POS systems, barcode scanners, industrial PLCs, test instruments and network equipment.
Because this cable sits between modern computers and older serial devices, any issue in signal conversion, driver stability, or physical quality can translate into intermittent data loss, device disconnections, or complete communication failures. In industrial environments, a "cheap" untested cable can stop a production line or corrupt data logs—much more expensive than the cable itself.
Before touching any tools, be clear about what you want to verify. For USB to RS232 cables, the core testing goals are:
- Accurate signal conversion
- USB data must convert to RS232 levels and timing correctly.
- Error‑free data transmission
- No data loss, misalignment, or bit errors under typical and heavy load.
- Physical integrity and mechanical reliability
- Connectors, strain reliefs and cable jacket must withstand repeated use.
- Driver and OS compatibility
- Correct recognition on common systems (e.g., Windows, macOS, Linux) and stable operation over time.
- Long‑term stability under real workloads
- Cable should remain stable in continuous operation and in your actual application scenario.
Keeping these objectives in mind will help you choose the right tests and avoid wasting time on irrelevant checks.
Start with a quick but systematic visual inspection before connecting anything.
Check the following:
- Cable jacket: Look for cuts, sharp bends, crush marks, or obvious deformation.
- Connectors: Inspect USB and DB9/DB25 connectors for bent pins, corrosion, or poor soldering.
- Strain relief: Gently flex the cable near both ends—there should be firm strain relief with no cracking.
- Labeling and specs: Confirm the model, chipset (if labeled), and any compliance marks (CE, RoHS, etc.).
If you see deep creases, exposed conductors, or damaged pins, do not proceed; the cable should be rejected immediately.
1. Plug the USB connector into a known‑good USB port on your computer (USB 2.0 or 3.0).
2. Connect the RS232 side to a compatible serial device or loopback plug (we'll cover loopback shortly).
3. Gently wiggle both ends and confirm the connectors sit firmly without looseness or intermittent contact.
A stable mechanical connection is the foundation for all subsequent tests.
Modern USB to RS232 cables typically use chipsets such as FTDI, Prolific, CH340 or CP210x, and depend on correct drivers to function reliably. [chinese.alibaba]
Most up‑to‑date operating systems will automatically detect and install a suitable driver:
- Connect the cable to the PC.
- Wait for the OS to install drivers or prompt you for installation.
- Confirm that a new COM port appears in Device Manager (Windows), System Information (macOS), or under `/dev` in Linux (e.g., `/dev/ttyUSB0`).
If the driver installs automatically and the COM port appears without error symbols, you can proceed to data testing.
If automatic installation fails:
- Use the manufacturer's driver package from the product CD or official website.
- Avoid unverified third‑party driver sites, as they may provide outdated or unstable drivers. [actualtechmedia]
- After installation, reboot the system if required and confirm the COM port shows a normal status.
This is the core of USB to RS232 cable testing: can it send and receive data accurately and consistently?
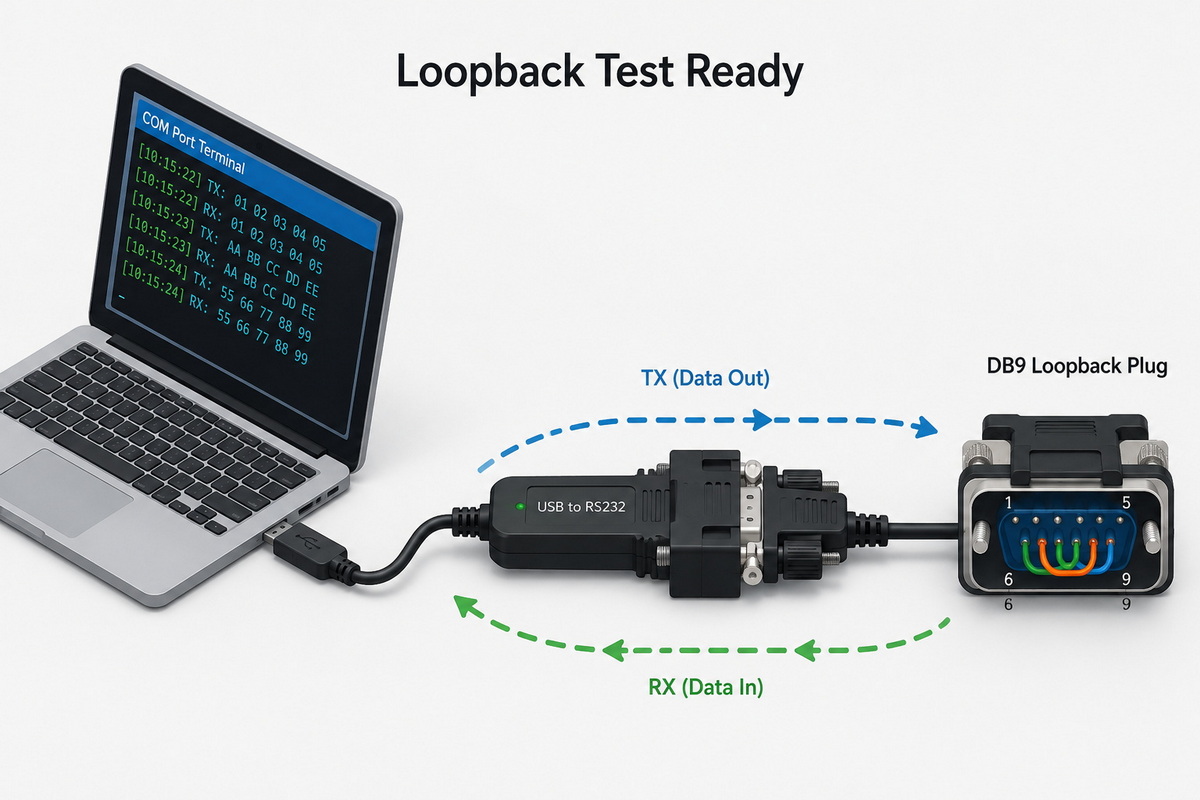
The simplest and most powerful test is a loopback test, where transmitted data is fed back to the receiver on the same cable.
Setup:
- Short pin 2 (TXD) and pin 3 (RXD) on the RS232 connector, or use a loopback plug.
- Open a serial terminal program (e.g., PuTTY, Tera Term, RealTerm) on your PC.
Configuration:
- Set appropriate baud rate (e.g., 9600 or match your target device).
- Configure data bits, parity, stop bits (e.g., 8‑N‑1).
- Disable flow control for a basic test, then test with RTS/CTS or DTR/DSR if needed.
Test procedure:
1. Type characters in the terminal window.
2. Every character you send should be echoed back immediately because TXD is tied to RXD.
3. Send a longer string (e.g., 1,000–10,000 characters) using the terminal's send‑file function or scripted input.
If the received data perfectly matches the sent data, the core TX/RX path is functioning correctly.
To push the cable harder:
- Send repeating patterns such as `AAAA`, `5555`, binary files, or random data.
- Compare sent and received logs to ensure no missing bytes, extra characters, or corruption.
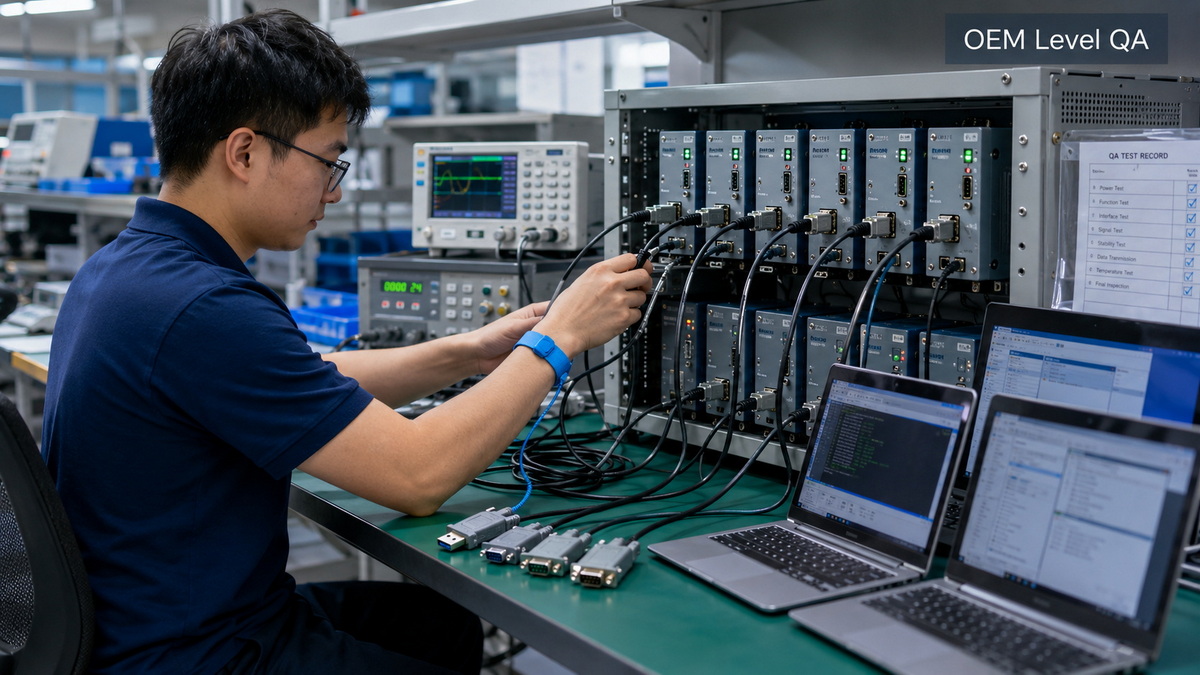
In production environments, we routinely run continuous loopback for several minutes to detect marginal cables that only fail under sustained load.
*Recommended visual asset:*
- Screenshot of serial terminal configuration showing COM port settings and loopback echo.
A cable that works on one PC may still fail in another environment, so compatibility testing is essential, especially for OEM projects.
Test the cable on different USB ports:
- Front‑panel vs back‑panel USB ports on desktops.
- USB 2.0 ports and USB 3.x ports on laptops or hubs.
Watch for:
- Non‑recognition on specific ports.
- Random disconnections when the port is slightly moved or when other USB devices are added.
For B2B deployments, we recommend testing at least:
- Windows 10/11 (32‑bit and 64‑bit as needed).
- macOS (if your customers use Mac‑based tools).
- Linux distributions commonly used in embedded systems or industrial PCs.
On each OS, confirm:
- The cable appears as a serial device with a stable identifier.
- The same loopback test runs without driver crashes or blue screens.
Finally, connect the cable to actual RS232 devices similar to your real use case:
- PLCs, CNC controllers, lab instruments, POS terminals or printers.
- Run the vendor's configuration software or your in‑house tools over the cable.
This real‑world scenario testing often reveals issues that synthetic tests can't catch, such as timing quirks or strict device requirements.
Good cables survive not just the lab, but also time, temperature, and load.
To validate stability:
- Run continuous data transfer for at least 30–60 minutes, preferably longer for industrial deployments.
- Monitor for any dropped connections, buffer overflows, or error messages in the terminal or device log.
In our OEM testing, long‑term runs help identify borderline solder joints, weak shielding, and thermal issues in the chipset.
Push the cable close to its maximum rated conditions:
- Use higher baud rates if supported by the chipset and device.
- Transmit bulk data (e.g., large log files or firmware images) continuously.
- Evaluate whether the cable becomes unusually hot during heavy use; excessive heat is a warning sign of poor electrical performance.
In demanding environments, consider:
- Testing at lower and higher ambient temperatures within the cable's specified range.
- Checking behavior during vibration or movement similar to its installation environment.
If your application involves outdoor cabinets or factory floors, these boundary tests strongly reduce field failure risk.
Over years of working with global OEM customers, we see recurring patterns when USB to RS232 cables misbehave. Here are some practical tips:
- Symptom: Device connects but data is garbled
- Likely cause: mismatched baud rate, parity, or stop bits.
- Fix: align serial settings on both sides before blaming the cable.
- Symptom: Random disconnects during vibration or movement
- Likely cause: loose USB or RS232 connector, or weak solder joints.
- Fix: repeat tests while gently bending or tapping the cable and connectors; reject any cable that loses connection.
- Symptom: Works on one PC but not another
- Likely cause: driver conflicts, power limitations, or USB controller differences.
- Fix: reinstall drivers, use a powered hub, or test on alternative ports.
- Symptom: Multiple cables failing in the same location
- Likely cause: environmental issues (static, surges, poor grounding).
- Fix: review the electrical environment and protect the ports, not just the cables.
If you are a buyer, engineer, or QA manager sourcing USB to RS232 cables from an OEM, you should define a minimum acceptance test before approving a supplier. Based on industry best practices and our own factory routines, a practical test plan includes: [straightnorth]
- Visual and mechanical inspection of each batch.
- Driver and OS recognition on at least one current Windows version.
- Loopback test with continuous data at your target baud rate for a defined period (e.g., 15–30 minutes).
- Sample‑based compatibility tests on your actual devices (at least 3–5 units).
- Recording results and rejecting samples that show instability, with clear feedback to the supplier.
By formalizing this test plan, you increase trust and traceability, aligning with Google's expectations for reliable, experience‑based content and robust supplier relationships. [developers.google]
Below is a quick reference table summarizing a practical test setup for most users:
| Test stage | Tool / setup | What to verify |
|---|---|---|
| Visual inspection | Naked eye, good lighting | No damage, deformity, or bent pins |
| Driver & recognition | PC/laptop, Device Manager / OS tools | Cable recognized, COM port created |
| Loopback data test | Serial terminal + loopback plug | Data sent = data received, no errors |
| Compatibility (ports & OS) | Different USB ports, multiple OS | Works consistently across setups |
| Long‑term stability | Continuous data for 30–60+ minutes | No disconnects, stable performance |
| Real device scenario | Actual RS232 device in your application | Reliable operation in real environment |
This table can be reused as a checklist in your internal documentation or QA standard.
Replace or reject the cable if you observe any of the following during testing:
- Persistent driver errors or COM port instability after proper driver installation.
- Data corruption or missing bytes during loopback and device tests, even at lower baud rates.
- Mechanical instability: connection drops when the cable is lightly moved.
- Overheating during continuous high‑load operation, especially near the USB connector.
For B2B buyers, clearly documenting these rejection criteria will help align expectations with your supplier and reduce future disputes.
If you need USB to RS232 cables that are already tested for stability, compatibility and long‑term performance—and want OEM customization for your brand, packaging, or special pinouts—our engineering team can help. We support global OEM and wholesale customers with customized cables across USB, VGA, HDMI, DVI, SATA and other interfaces.
Contact our engineering and sales team today to discuss your application, testing requirements, and OEM options, so you can deploy your next project with confidence.
A: If your system recognizes the cable as a COM port, and a loopback test shows all sent data is correctly echoed without corruption, your cable is functioning normally.
A: You only need a serial terminal program (like PuTTY or Tera Term) and either a loopback plug or shorted TX/RX pins to perform most functional tests.
A: Different cables use different chipsets and drivers; compatibility with your OS and device timing can vary, so always test with your actual equipment and environment. [chinese.alibaba]
A: For most office applications, 15–30 minutes of continuous data is sufficient, but for industrial or 24/7 systems, longer tests (several hours) are recommended.
A: In rare cases, certain legacy drivers behave differently on USB 3.x controllers, so it is wise to test both USB 2.0 and 3.x ports during your evaluation.
1. PCM Cable – "How to test the USB to RS232 cable?" (original article content used as source and expanded) – [link]
2. Google Search Central – "Creating helpful, reliable, people‑first content" – [link] [developers.google]
3. Straight North – "SEO Best Practices & Techniques" – [link] [straightnorth]
4. ActualTech Media – "The Smart Guide to Technical Writing for Tech Companies" – [link] [actualtechmedia]
5. Alibaba product listing – "USB to RS232/485 serial cable with various chipsets" – used as reference for chipset and OS support – [link] [chinese.alibaba]
6. WBSCodingSchool – "How To Write A Tech Blog That Reads Well – Fundamentals" – [link] [wbscodingschool]


